HOW TO BALANCE A BOX LENS ON A TRIPOD
Balancing a box lens on a tripod is a very important process when using this camera and lens combination. In order to prevent injuries and damaged equipment, we put together a step-by-step process of how to properly balance a box lens on a tripod.
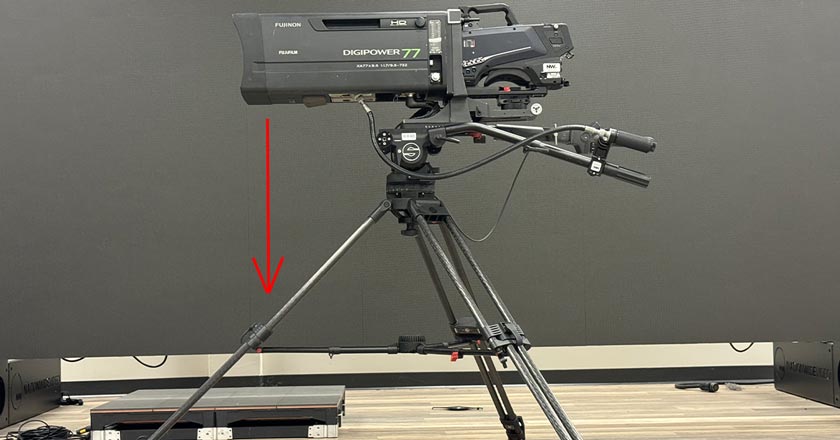
Step 1: Setting up the tripod.
- Upon taking the tripod out of the case, inspect it for any cracks, frays, or other deformities. Open the tripod legs and ensure that the tripod is on a stable surface. Remember that the wider the spreader allows the legs to open, the more stable the tripod is.
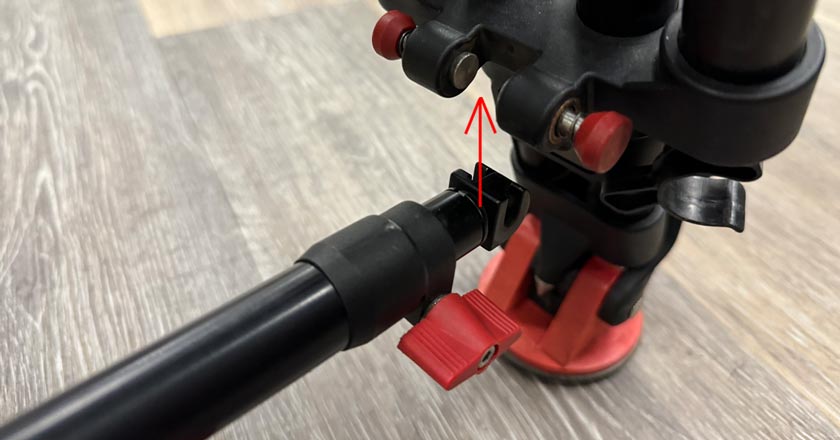
- Next, ensure that the spreader is securely locked into the legs.
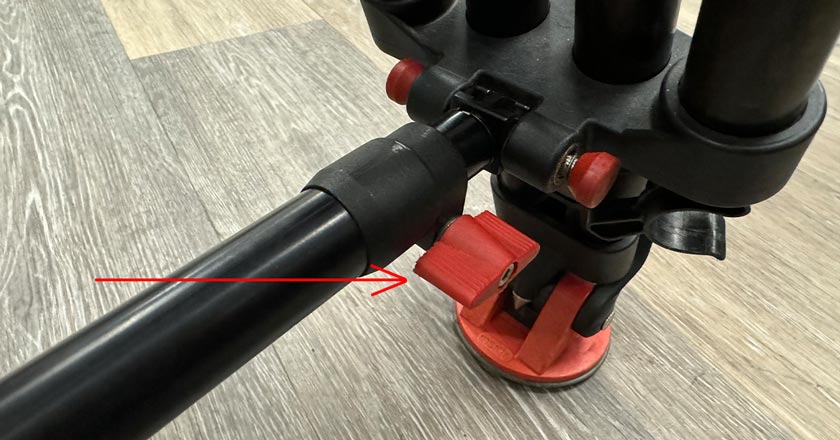
- Set the width of the legs and then make sure that the red thumb screws are tight, so the legs are secured and do not spread any further.
Step 2: Attach the fluid head.
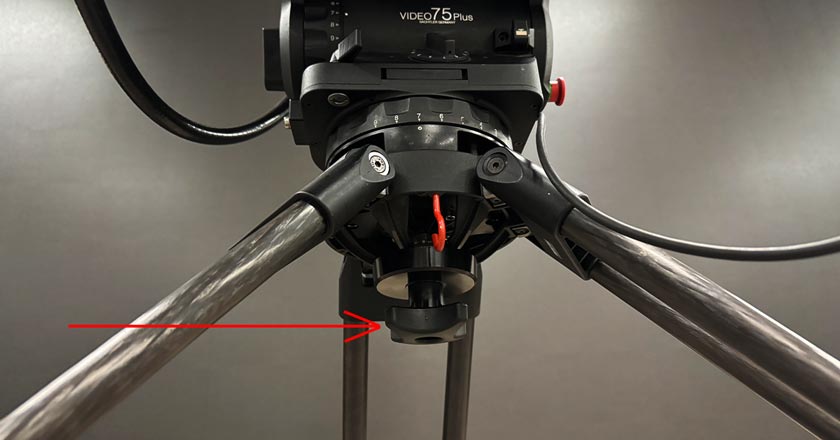
- If not already attached, securely mount the fluid head onto the tripod.
- Using the locking knob on the bottom of the head, snug this up. When tightening the knob, be sure to tighten it until you feel a little bit of resistance, but not so tight that the head will not move.
- Once the head is locked in place, gradually place your weight onto the tripod head by leaning on it. This will help make sure that everything is tight and ready to accept the weight of your lens/camera.
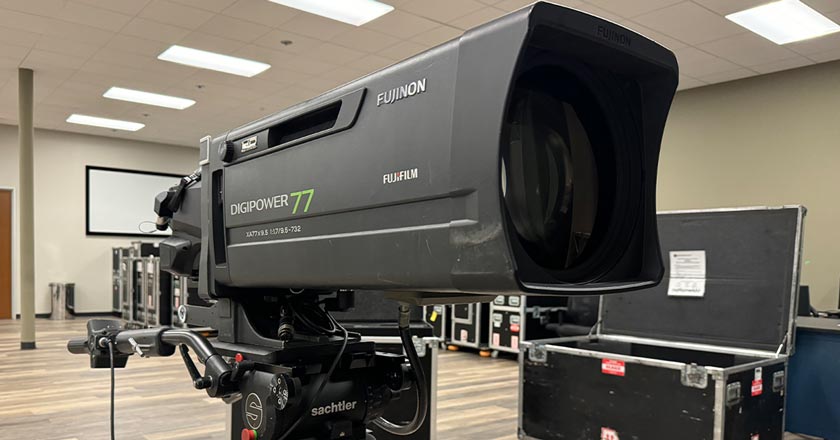
Step 3: Placing the lens.
- As a good rule of thumb, it’s wise to attach the long glass (50X or longer) to the fluid head before mounting the camera. This is a good practice to prevent unnecessary opportunities for mishandling accidents. It also helps to avoid extra weight, and potential damage to camera when handling.
-
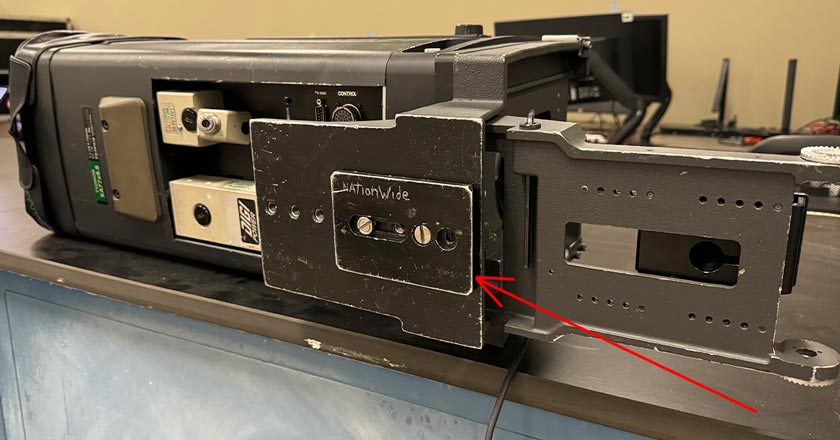
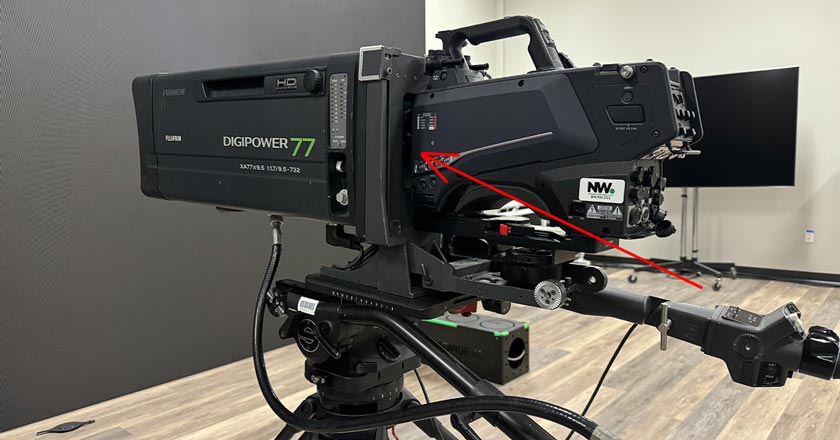
- At this stage, it’s a good opportunity to double check your work. Ensure that this adaptor plate (also known as the quick release plate) is on and secured to the bottom of the lens.
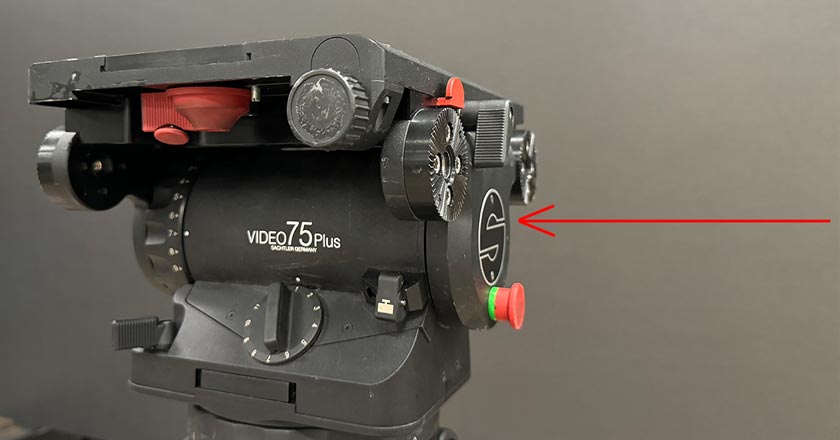
- Before attaching the lens to the tripod, make sure that all the control adaptors (red knobs) are tight (lens and focus blocks). As you’re about to place a heavy lens on it, you want to make sure that nothing is going to move
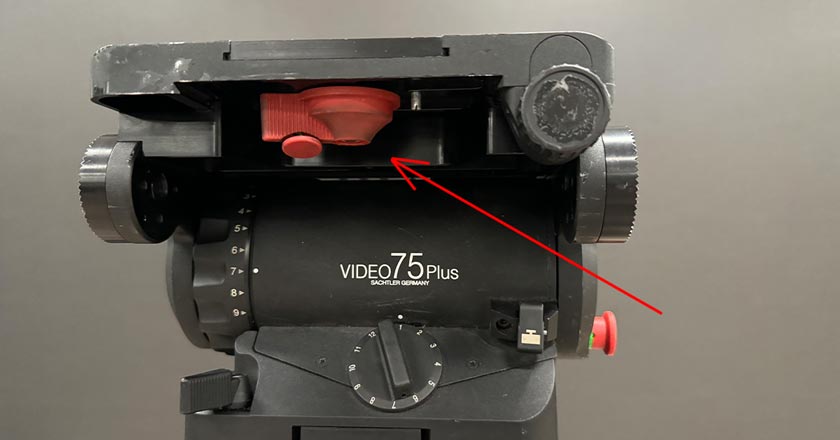
- Make sure that the below red lever is in the open position. This opens and closes the snap plate that locks the adaptor plate into place. The metal tab on the top plate being up ensures that the locking plate is ready to receive the lens.
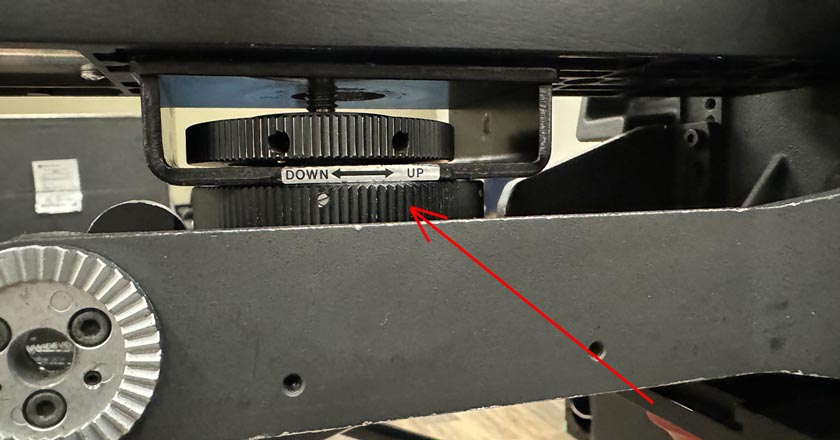
- Using the below red latch, after you center the sliding balancing plate, lock it into place.
- Now mount the lens onto the tripod head, using the adaptor plate that you just secured to the lens and making sure that it falls into the snap plate and that locks shut. You should hear it click into place.
- Now mount the camera onto the lens. Make sure that the bayonet mount on the camera is level, plum, and square to the bayonet mount on the long glass so they can attach.
- Be careful not to scratch the lens while making the attachment to the bayonet mount and making sure the mount on the lens side is open to receive the camera. Once this is mated up, turn the bayonet mount on the camera side to snug that up.
- Then make sure that the large thumbwheel is screwed into the camera mount on the bottom of the camera. When your camera is level, plumb and square to the lens, it should attach with very little resistance.
Step 4: Camera Use
- Always try and have your lens supported by one of the legs of the tripod, your tripod is strongest this way. When the lens is positioned between two legs it is at its most unstable and should only be in this position when the operator is present. Also if you are going to step away from your camera you should always lock it over the tripod leg so it doesn’t get bumped.
- Now that your tripod is built, your lens is mounted, and your camera attached, make sure that everything is secure. Be ready to stop the camera from tilting by placing one hand on the control arm.
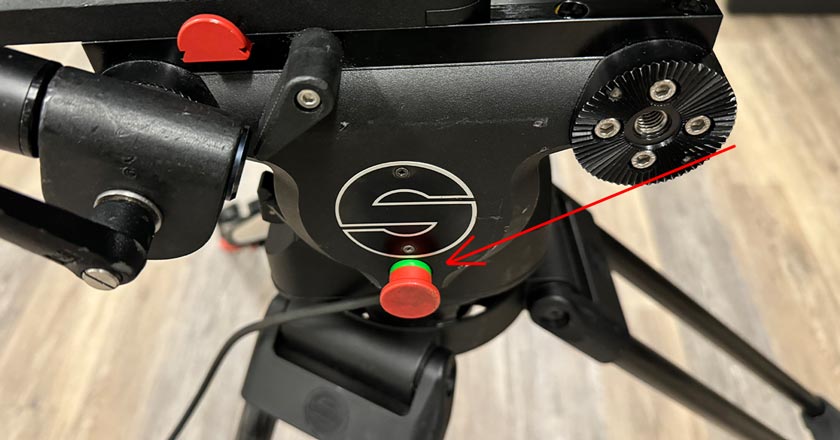
- Unlock the tilting feature with the red plunger button and adjust accordingly so that the camera levels out. You now have your camera balanced.
Balancing a box lens properly is a very important process for the safety of the operator as well as the equipment. Following these steps is a great way to ensure that you have taken all the safety measures for yourself and your equipment.
Nationwide Video has a wide array of studio cameras, long glass, and tripods. Nationwide’s camera kits are designed to have everything you need in one road case so your show site experience is as efficient as possible. To learn more about Nationwide’s Camera Kits, check them out here.